Friday, 6 January 2023
16:39 | Edit Post
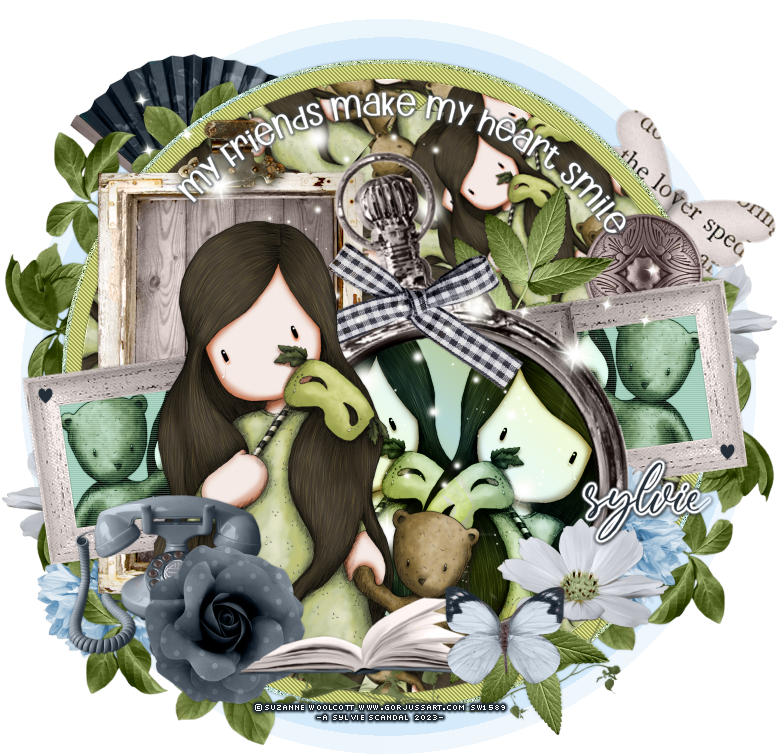
MY FRIENDS

Tube by ©Suzanne Woolcott - no longer for sale, sadly
FTU Scrap Kit by Jackie's Jewels - Friends Forever - HERE
Plugins Used
Mura's Meister - Copies
Penta.com - Jeans
DSB Flux - Radial Mosaic
Eye Candy 4000 - Gradient Glow
Fonts Used
Christabelle Sans (for the wordart)
Butterline (for the name)
DL my wordart for the tag - HERE
~~~~~~~~~~~~~~~~~~~~~~~~~~~~~~~~~~~~~~~~~~~~~~~~~~~
Okay, let's get started!
1.
File - New Image - 800 x 800 - Transparent
Copy and paste your tube of choice to the canvas.
Move it right below the tube layer - I rotated the frame a smidgeon using Raster Deform Tool.
Now make your own gradient by choosing two colors you'd like to use for your tag.
I used #bac98b and #b5d7d4
Choose Foreground-background in your gradients to make your own
Using your Magic Wand Tool, click inside of your frame
Selections - Modify - Expand by 10
Add a new raster layer and floodfill with your new gradient.
Selections - None
Move that layer below your frame layer.
Duplicate your tube now and move it between the frame and gradient layer
to the left of your round gradient layer
Duplicate it - Image Mirror
Click on your gradient filled layer to make it active
Selections - Select All
Selections - Float
Selections - Defloat
Selections - Invert
Click on one of the tube layers and hit the delete key
Do the same with the other one.
Selections - None
Now duplicate these tube layers
Change the blend mode of the bottom ones to Luminance (Legacy)
And change the blend mode of the top ones to Soft Light
Now add a dropshadow to your frame
Hide your main tube layer
Layers - Merge - Merge Visible
Now unhide the main tube again.
2.
Using your preset shape tool, draw a circle the size you would like
I made mine to mostly fill my canvas
I used the same gradient as above to draw the circle
Objects - Align - Center in Canvas
Now, convert to a raster layer
Duplicate your tube layer and hide one
Also hide your frame layer we just merged
Click on the unhidden tube layer to make it active
Resize by 60%
Effects - Plugins - Mura's Meister - Copies
In the dropdown list choose Wallpaper (rotate)
I changed the number to 79 - everything else stays at default
(change the number so it fills your canvas as you desire)
Click OK.
Resize this layer by 90% so it will come away from the edges of your tag
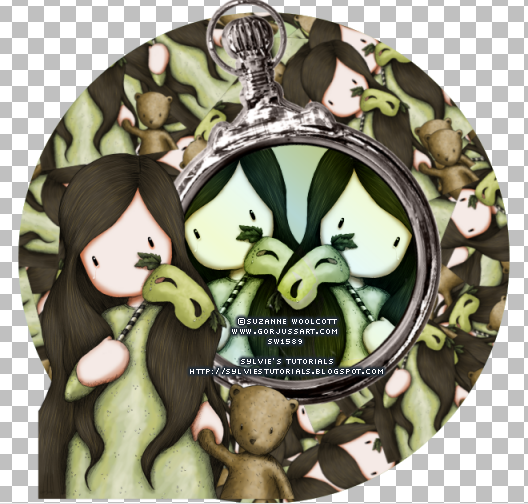
Make sure your wallpaper layer is right above your circle layer
Click on the circle layer to make it active now
Selections - Select All
Selections - Float
Selections - Defloat
Selections - Invert
Click on the wallpaper layer and hit the delete key
Selections - None
Now unhide your other layers
This is what you should have now:

3.
Click on your gradient circle to make it active now
Selections - Select All
Selections - Float
Selections - Defloat
Selections - Modify - Expand by 15
Add a new raster layer and floodfill with a color of choice
Selections - Modify - Expand by 4
Floodfill with your gradient again and move this beneath the green layer
Selections - None
Click on your very bottom gradient layer to make it active
Adjust - Add/Remove Noise - Add Noise
Random - 37% - Monochrome: checked
Now add a dropshadow to this layer - I used 0, 0, 40, 4.00
Click on the green floodfilled layer to make it active now.
Effects - Plugins - penta.com - Jeans - default settings
Now add your dropshadow again.
Click on the rotated background layer now, and add the same dropshadow.
4.
Grab Element 1 (the rectangular frame) and paste it to the canvas
Pull it to the right so it's only coming out from the right side and not seen on the left
Duplicate it, Image - Mirror
Hide all layers except the 2 rectangular frames
Make sure this layer is beneath the round frame but above the rotated wallpaper layer.
Using your Magic Wand Tool, click inside the rectangular frame at one end
Hold down your shift key and then click inside the frame at the other end
They should both have marching ants now
Selections - Modify - Expand by 5
Add a new raster layer and floodfill with a color of choice
Duplicate your main tube now
And I used the teddy bear part in this frame using the same method as above
Trim any excess of the tube and then duplicate them
Change the blend mode to Luminance (Legacy) for the bottom
And change the blend mode to Soft Light for the top.
Hide all layers except the blue floodfilled layers and the teddybear tube
Layers - Merge - Merge Visible
Effects - Texture Effects - Blinds
5.
Now these are the elements we're going to add.
Add a dropshadow to each if you like as you go.
Element 37 - no resizing necessary
(rotate by 90% to the right)
(Adjust - Hue & Saturation - Colorize - Hue: 146 - Saturation: 100)
Element 8 - resize by 50%
Element 39 - resize by 60%
Element 48 - resize by 70%
(rotate it a smidgeon using raster deform tool)
Element 30 - resize by 70%
6.
Draw a circle slightly larger than the last using a color of choice
I used #91caf5
Effects - Plugins - DSB Flux - Radial Mosaic - default settings
Lower the opacity of this layer to 50
Make a wordart for your tag, or you can add mine
(included in supplies above)
Now, add your copyright and name.
We are all finished!
Thank you so much for following along!
♥
© sylvie's tutorials.
Written January 6, 2023.
Labels:cutesy,my friends
Subscribe to:
Post Comments
(Atom)
-me-


0 comments:
Post a Comment