Tuesday, 6 September 2022
13:07 | Edit Post
Tube - Autumn by Kajenna - HERE
Kit - Fall Colors - FTU by Scrappy Bit of Fun - HERE
Plugins: Mura's Meister - Copies & Penta.com - Jeans
Mask - by me - sylly creationz - grab the mask at Creative Misfits blog - HERE
Gradient - I used one by Tonya's Temptations, but made for Misfits, not on her blog
(any gradient will do, however)
Fonts Used -
♥
~~~~~~~~~~~~~~~~~~~~~~~~~~~~~~~~~~~~~~
Okay, let's get started!
1.
New Image - 750 x 750 - transparent
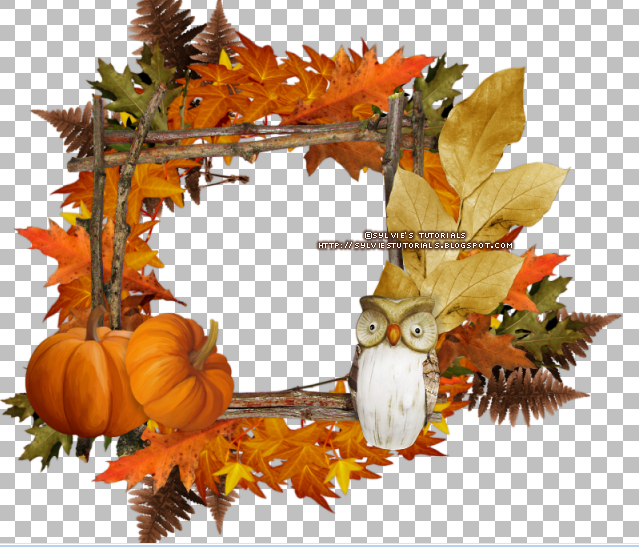
Open frame 8 and paste it to your canvas.
Element 45 - resize by 70%
Effects - Plugins - Mura's Meister
Move this layer beneath the frame.
Element 27 - resize by 70%
I placed it four places around the frame, removing excess not needed.
Element 2 - resize by 50%
Paste it to the left of the frame at bottom.
2.
Element 29 - resize by 50%.
Move it to the right side, over top of the leaves we just added.
I duplicated it and placed it in 3 more places too.
I did the same, placed it in four different places around the frame.
This is what I have now.

3.
Paste your tube onto the canvas, I resized by 30%.
I put it right beneath my tube, coming out from behind the 2 pumpkins to the left.
Element 30 - Resize by 30% and put to the right of your tube.
Element 60 - resize by 40%
I put it over to the left of the chipmunk.
Frame 7 - no resizing needed
Right click the layer
Arrange - Send to Bottom
Move it so it's coming out from the left side and bottom
Duplicate - Image - Mirror
Image - Flip
It should be coming out from behind right side and top now.
Element 37 - resize by 35%
I made it come out from behind the two pumpkins at the bottom of the tag.
4.
Paper 15 - resize by 60%
Paste to canvas right beneath your main frame layer.
Move it to where you want it exactly.
Using your magic wand tool, click inside of the main frame
Selections - Modify - Expand by 8
Selections - Invert
Click on the paper layer and hit the delete key.
Selections - None
Add sparkles of choice
I put mine beneath the main tube layer.
Now, add the mask , the copyright and name
We are all finished now, YAY!
Thank you for trying my tutorial!
♥
© sylvie's tutorials.
Written September 6, 2022.
Labels:autumn,fall colors
Subscribe to:
Post Comments
(Atom)
-me-


Totally love it Sylvie! 😀 Thank you
ReplyDeleteSoooo very welcome - thank you for the gorgeous kit to play with! ♥
ReplyDelete