Thursday, 5 December 2019
Materials Needed
Tube of choice - Keith Garvey 281-1 now available at CDO HERE
Ticket Template - by Chasing After Creativity HERE
Texture 1 - Think Pink Bokeh Texture 9 by Jenna-Rose HERE
Texture 2 - Silver Bokeh Texture II by beckas HERE
Texture 3 - (provided in supplies with permission) - Suz_bcatexturea2
Mask used: Vixmask229 HERE
Font used for Name: Minnie script font (pay) HERE
Gradient of choice - I used TBT_CMBCA19_12 by Tonya's Temptations, exclusive for Misfits
Supplies to download: glittter tile, pink squiggles, heart lollipops, lips & Suz's texture
- DOWNLOAD HERE -
~~~~~~~~~~~~~~~~~~~~~~~~~~~~~~
Okay, let's get started!
1.
Open up your template, press Shift Key and "D" to duplicate it. Close the original.
First, I edited the 'presentation of this ticket' text layer and removed the 'e' from the word 'user'.
Then I cut the end of the text off and smooshed it back together, and merged them.
Now, open up your tube now and place it over the 'ticket' layer to the left of the template.
Make your template layer active.
Selections - All, Selections - Float - Selections - Defloat.
Selections - Invert.
Click on your tube layer now and hit the delete key.
Duplicate your tube. Image - Mirror. Add a dropshadow to the left side tube, 0, 0, 30, 3.00.
I am not merging the tubes together, as I'll be using them differently.
2.
Make your 'ticket back' layer active now.
Open up your paper/pattern of choice and paste it over top of this layer (or choose color).
I used texture 1 above as a paper which I do often, the think pink texture listed above.
Selections - All, Selections - Float, Selections - Defloat, Selections - Invert
Make your texture/paper layer active and hit the delete key to delete excess.
Selections - None. Now add a dropshadow of 0, 0, 30, 3.00.
Adjust - Add/Remove Noise - Add Noise - Random: checked - 33%
Paste your paper/pattern of choice (I used texture 2) over top of the 'ticket' layer.
Now, make your 'ticket' layer active by clicking on it.
Again, Selections - All, Selections - Float, Selections - Defloat, Selections - Invert
Click on texture 2 layer and hit the delete key.
Adjust - Hue & Saturation - Colorize - Hue: 234 - Saturation: 239.
Add the same dropshadow again. Add noise, I used Random and 33% again.
3.
Next, click on your 'ticket' layer and make it active.
Choose your gradient of choice.
I used an exclusive to Misfits gradient, but any pink gradient will do.
Selections - All, Selections - Float, Selections - Defloat, add a new raster layer.
Floodfill your new layer with your gradient of choice now.
Selections, None.
Now, add your texture 3 (by Suz) over top of the gradient layer.
Selections - All, Selections - Float, Selections - Defloat, Selections - Invert
Click on the texture once again and hit the delete key - removing all excess.
Lower the opacity to 82.
Now click on one of your tube layers, I chose the tube to the right.
Change the blend mode to 'Screen'.
4.
Click on the left side tube layer now. Duplicate it and click on the bottom layer.
Adjust - Blur - Gaussian Blur - 1.00.
Now click on the top left tube layer and lower the opacity to 90.
Duplicate that layer now, and go to Effects - Plugins - xero - Radiance
Lower 'Strangeness' to 27, and leave the others as is. Click Ok.
Now lower the opacity of that layer to 30.
Now , click on the 'ticket' layer once again.
Selections - All, Selections - Float, Selections - Defloat, Selections - Invert
Click on the 3 tube layers one at a time and hit the delete key, to delete excess.
Selections - None.
(If you aren't creativity lazy like me, LOL, you can merge the 3 tube layers and then delete).
5.
Click on the 'presentation of this ticket' text layer, add a dropshadow of 0, 0, 20, 2.00.
Click on the '3277' layer and add the same dropshadow.
Click on the 'No Expiration' layer.
Effects - Plugins - Eye Candy 4000 - Gradient Glow - Glow Width 3.00
Click on the 'color tab' in the plugin box and select 'Medium' and change the color box below to any shade of pink that works for you. I used #fca0cd.
6.
Now click on the 'TickeT' text layer.
Selections - All, Selections - Float, Selections - Defloat, and add a new raster layer.
Click that layer to make it active and floodfill it with your color of choice. I used #f04b96.
Do not deselect it yet, go to Selections - Modify - Expand by 2.
Again, add a new raster layer and lower it beneath your pink text layer.
Floodfill it with white. Selections - None. Add a dropshadow of 1, 1, 40, 4.00.
Now do the same with the 'to' text layer. Same dropshadow.
Open the glitter tile and add it to your Material Palette.
Floodfill the word 'Bitch' with that tile - then like the other words , expand by 2.
Floodfill with white on a new raster layer and add the same dropshadow.
Add noise again, same settings as before.
7.
Click on the 'This is my' text layer.
Selections - All, Selections - Float, Selections - Defloat, and add a new raster layer.
Click on the new raster layer now and floodfill with the color white. Add same dropshadow.
Hide or delete the 'This is My' original template layer.
Now, click on 'where's yours' layer - add a dropshadow of 0, 0, 20, 2.00.
8.
Paste the full size version of your tube now, to the right of your ticket.
You may need to enlarge your canvas. Image - Canvas Size - 800x800, if so.
Add your lips. I added a white border around the lips and a dropshadow of 1, 1, 30, 3.00.
Add your pinksquiggle on each side of the ticket.
Add the heart suckers at the top. Right click the layer - Arrange - Send to Bottom.
Image - Mirror and add dropshadow to each, same as before.
Add sparkles, your mask of choice, your copyright and finally a name to finish it up!
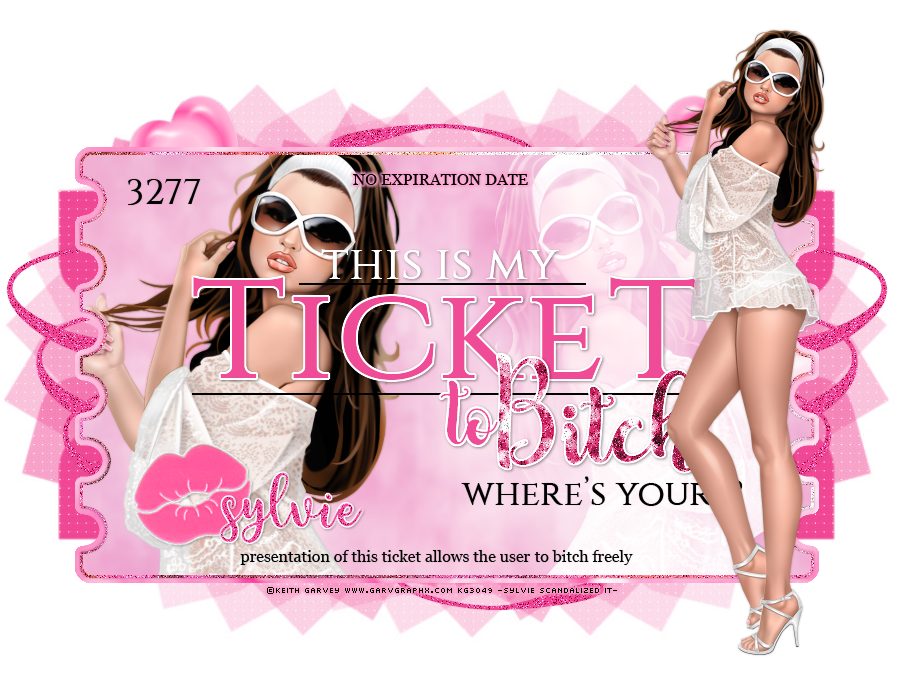
WE ARE FINISHED!
Woohoooo, thank you for following my tutorial.
I made mine into a full set.


©sylvie's tutorials.
Written December 5, 2019.
Subscribe to:
Post Comments
(Atom)


0 comments:
Post a Comment